


Crafting Professional Brand Kits for Success with Brand Development Tools
- Tamika Jackson
- Apr 6
- 4 min read

Building a brand that stands out is no accident. It takes strategy, consistency, and the right tools. One of the most powerful assets in your branding arsenal is a professional brand kit. This isn’t just a collection of logos and colors. It’s your brand’s DNA, packaged and ready to deliver a clear, cohesive message every time you connect with your audience.
If you want to elevate your brand presence and compete at a higher level, crafting a professional brand kit is non-negotiable. Let’s dive into how you can create one that drives results and supports long-term growth.
Why Brand Development Tools Are Essential for Your Brand Kit
Brand development tools are the backbone of any successful brand kit. They help you define, organize, and apply your brand elements consistently across all platforms. Without these tools, your brand risks looking scattered and unprofessional.
Think of brand development tools as your brand’s blueprint. They guide you through:
Choosing the right color palette that resonates with your audience
Selecting fonts that reflect your brand personality
Creating logos that are versatile and memorable
Defining tone and voice for all communications
Using these tools ensures every piece of your brand puzzle fits perfectly. You avoid confusion, build trust, and make your brand instantly recognizable.
Practical Example
Imagine you’re launching a new product line. With brand development tools, you can quickly pull your brand kit and apply the exact colors, fonts, and logo variations needed for packaging, social media, and ads. This saves time and keeps your messaging sharp.

The Core Components of a Professional Brand Kit
A professional brand kit is more than just a logo file. It’s a comprehensive guide that covers every visual and verbal element of your brand. Here’s what you need to include:
1. Logo Variations
Your logo should have multiple versions for different uses:
Full color
Black and white
Icon or symbol only
Horizontal and vertical layouts
This flexibility ensures your logo looks great everywhere, from business cards to billboards.
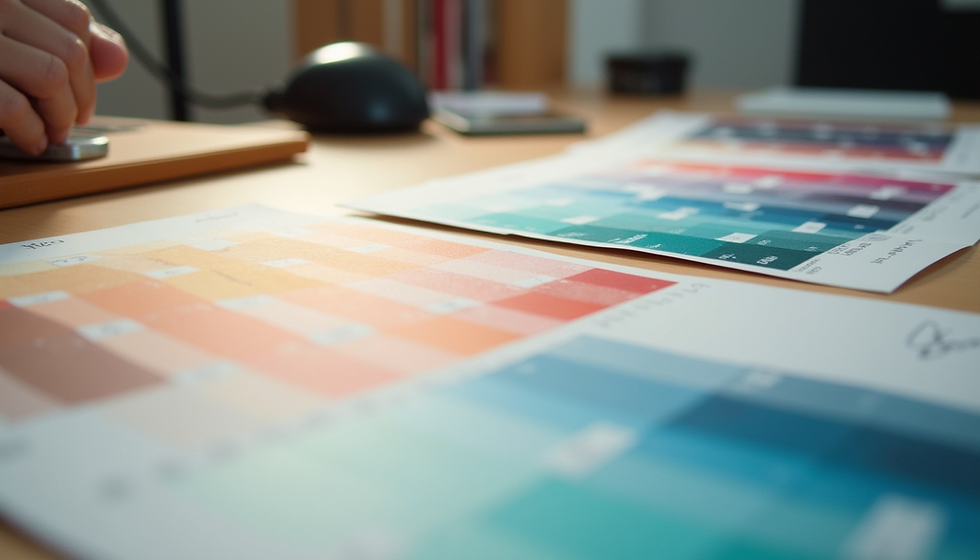
2. Color Palette
Choose a primary color palette of 3-5 colors that represent your brand’s personality. Include secondary colors for accents and backgrounds. Provide exact color codes (HEX, RGB, CMYK) to maintain consistency.
3. Typography
Select 2-3 fonts that complement each other. Typically, one for headings, one for body text, and an optional accent font. Specify font sizes, weights, and styles for different uses.
4. Imagery Style
Define the style of photos, illustrations, and graphics that fit your brand. Are they bright and bold? Minimal and muted? This helps maintain a consistent look across all visuals.
5. Brand Voice and Messaging
Outline your brand’s tone of voice. Is it professional and authoritative? Friendly and conversational? Include key messaging points and taglines to keep communication aligned.
6. Usage Guidelines
Explain how to use each element correctly. Include do’s and don’ts to prevent misuse that could dilute your brand.
Actionable Tip
Create a digital brand kit document or folder that’s easy to share with your team, freelancers, and partners. This keeps everyone on the same page and speeds up project workflows.
How to Get Started with Your Brand Kit Using Brand Development Tools
Starting from scratch can feel overwhelming. But with the right approach and tools, you can build a brand kit that works for you.
Step 1: Define Your Brand Identity
Before you pick colors or fonts, get clear on your brand’s mission, values, and target audience. What makes your brand unique? What emotions do you want to evoke?
Step 2: Choose Your Visual Elements
Use brand development tools to experiment with color palettes and typography. Many tools offer templates and suggestions based on your industry and style preferences.
Step 3: Design Your Logo
If you don’t have a logo yet, consider working with a professional designer or using a trusted design platform. Your logo is the cornerstone of your brand kit.
Step 4: Compile Your Brand Kit
Gather all your elements into one place. Include detailed guidelines on how to use each asset. This document becomes your brand’s reference manual.
Step 5: Implement and Review
Start applying your brand kit across your website, social media, marketing materials, and packaging. Regularly review and update your kit as your brand evolves.

Why You Should Invest in a Professional Brand Kit
A professional brand kit is an investment that pays off in multiple ways:
Consistency: Builds trust and recognition with your audience.
Efficiency: Saves time by having ready-to-use assets and clear guidelines.
Professionalism: Elevates your brand image and sets you apart from competitors.
Scalability: Makes it easier to expand your brand across new channels and products.
If you want to skip the guesswork and get a professional brand kit that’s tailored to your business goals, it’s worth seeking expert help. A well-crafted kit is a foundation for all your branding efforts.
Elevate Your Brand with a Strong Foundation
Crafting a professional brand kit is not just about aesthetics. It’s about creating a strategic tool that supports your business growth. When your brand looks and feels consistent, you attract the right clients and build lasting relationships.
Don’t let your brand identity be an afterthought. Use brand development tools to create a kit that’s clear, compelling, and ready to work hard for you.
Ready to take your brand to the next level? It’s time to get a professional brand kit and start building a brand that truly stands out.


Comments